Η λίστα ιστολογίων μου

Κυριακή 27 Απριλίου 2014

Cold War Gone Hot APCs

My forays into the Cold War continue with 2 more models. The first is the old and venerable M-163 from Esci, this time reissued by Italeri. Italeri is slowly reissuing all the M-113 variants that Esci produced, and a jolly good thing it is too. This is an old kit, one that I built as a teenager. Hated the lenght and link tracks then, still hate them now. I don't have a problem with Revell's L&L tracks, because they actually FIT. These took some cursing and chopping, but they finally conformed somewhat. I added a commander from the other M-113 kit I am building, and called it a day. Yes, it is not my best job by far, but I just wanted to build something after my divorce and this was a pleasant distraction.


The other is the (essentially quick-build) M-113 from JB, reissued by Airfix. Although this is supposedly 1/76 scale, it is very very similar to the Esci offering which is 1/72. Oh well, makes my life simpler. Great little model, easy to build, very durable, perfect for wargaming. Once again, quick build, quick paint. Nothing to really write home about, but it gets the job done. If you buy one (or three) make sure you wash the parts extra well. Some sort of weird releasing agent was used and I had trouble getting paint to stick, despite washing things with water and detergent.


That's all for now. Off to the bunker where more Cold War goodness (plus WWII, Napoleonics and even some stuff for Mogadishu) awaits.

Παρασκευή 18 Απριλίου 2014

Which way to Paris comrades?

A few months back I completed this squad of Vozdysho Desantnye Voyska (or Spetsnaz if you are feeling more adventurous) for my Cold War Gone Hot project. Needless to say, I had spent another two days of my life re-reading Red Storm Rising, and I was in the mood for some Warsaw Pact vs. NATO action. This was the result. Naturally, I used the old Esci Spetsnaz issued when I was in my (very early teens) and recently re-issued by Italeri. Excellent sculpts, if a little boring in terms of poses. Although they are kitted out for Afghanistan, they will see action in Central Europe, maybe even south Europe just fine. 

Fist completed squad.

NCO/Junior CO

Squad Machine Gun

Squad Sniper

Squad RPG

Grunts

I have a few more metal VDV from Elhiem and with these I will be able to boost my forces to a full platoon, if not more. The lack of any vehicles in styrene is an issue, but I think I will make do with Hinds. I already have my eyes set on an old Airfix Hind-D and I aquired some 1/144 air support today. Given my current gaming table, I find it doubtfull that I will be able to field more than a platoon anytime soon.

Κυριακή 13 Απριλίου 2014

British Doorknocker

A few months back I got a Zvezda 2-pounder for my BEF project (still plodding along with that one; with a bit of luck they will be ready in a couple of months). Just when I had given up on getting a plastic 2-lb anti-tank gun, Zvezda came to the rescue. To my understanding, it is not entirely accurate for France, since a lot of units used a French 25mm anti-tank gun (almost as useless), but hey, it is too good to pass up. I used it as it, adding another figure from the Zvezda Vickers machinegun kit.


Lovely little kit, as most if not all of Zvezda's offerings are. I need to finish my command stand, the rest of the artillery and the Mathildas, and I will be pretty much done. Not everything will be entirely accurate, but it promises to be a fun little army on the table top.

Here is the state of the bench as of this afternoon. Most of the stuff is commission work.

That's all for now from Athens. Keep modeling!

Τρίτη 8 Απριλίου 2014

"Uri, uinciri, uerberari, ferroque necari"

"To endure burning with fire, shackling with chains, to be whipped with rods and killed with steel". Not a fun time! Still, this was the Roman gladiator's oath of submission and it illustrated the life they led pretty well. Last year, I decided I wanted me some action in the arena, so I got a box each of the Italeri and Pegasus gladiators and a copy of the "Red Sands, Blue Sky: Heroes of the Arena" rules from Two Hour Wargames. This is a neat sense of rules that allows you to play at three levels: solo game (always a good idea), head-head campaign where you are the head of a troupe of gladiators or familia gladiatoria, or a campaign where your gladiator(s) try to make it to Rome and win the coveted rudis (wooden sword) and freedom.

The game is pretty complete, coming with pretty much all the rules you will need, paper miniatures and a paper arena. Paper is for pussies I tell you. We are here to get our hands dirty with styrene and polyethelene and paints. So I went ahead and painted one each of the six gladiator types outlined in the rules:

Hoplomachus (sans shield): Italeri

Murmillo (front): Italeri

Murmillo (back) 

Retarius (net added from gauze): Italeri

Secutor (without helmet): Pegasus

Thraex: Pegasus
Dimachaerus: Pegasus

It was a fun little project. I still have more gladiators to paint if I so desire (including women and midgets who are also included in the ruleset) and some animals. Now, to motivate myself to build a small arena and invite fellow blogger Thanos from Miniatures and Terrain for an evening of casual slaughter sine missione (without mercy) on the sands.

Τρίτη 1 Απριλίου 2014

MageKnight Night

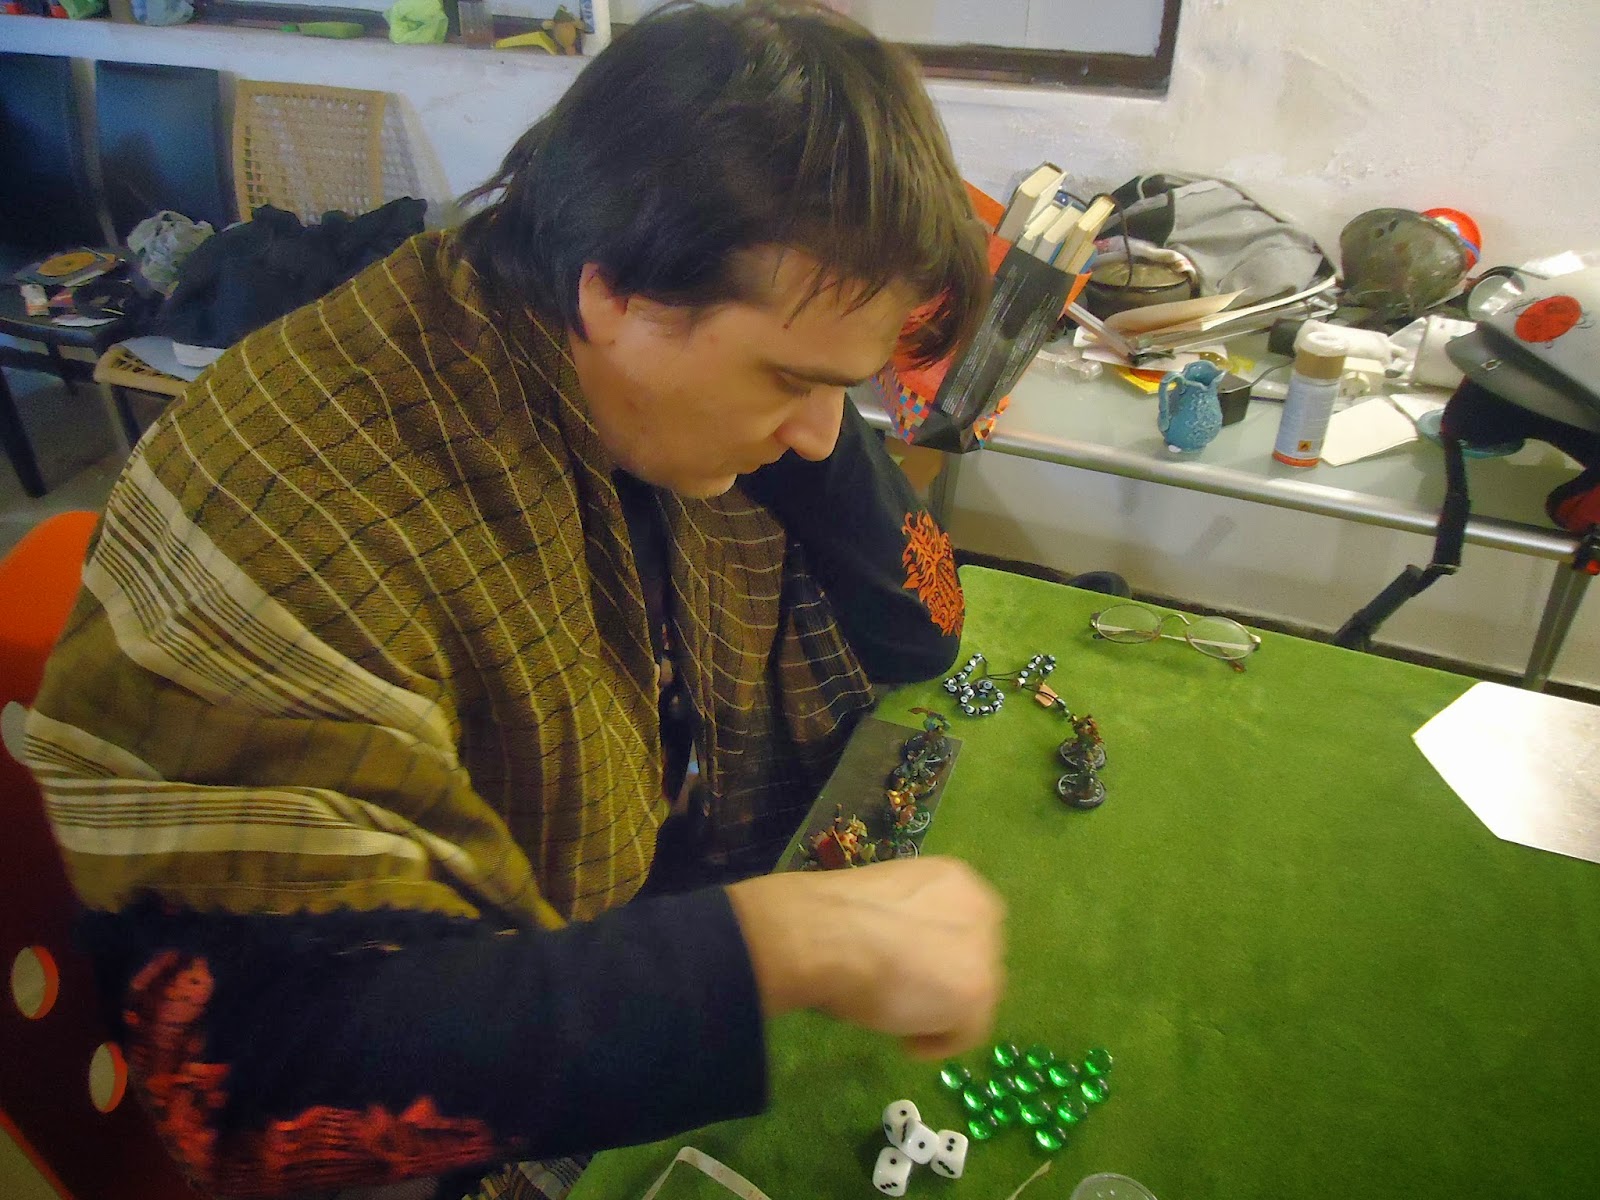
I finally managed to put my (extensive) MageKnight miniature collection. For those not familiar with the game here is the Wikipedia article on it. Last night, feeling kind of bored and with nothing interesting to do, I called the dreaded Colonel McRaffy, Scourge of the Steppes, Hammer of the Elves, Lord of the Orcs. OK, his name is NOT Colonel McRaffy, but he is a dedicated Orc player in every game from D&D to WH40K. He picked Orcs (no surprise there), I picked Elemental League. 

Colonel McRaffy poring over troop dispositions.

McRaffy's plan was simple. Move fast, get into melee, kill. Considering the orcs, this is not a bad plan at all.

I am afraid the Elemental League Death Star will be operational before the Orcs arrive.

I used a simple, old tactic. I had some pretty powerful ranged combat figures (a Troll Artillerist and a Troll Gunner) backed up by some enhancers that improved their ranged damage and provided them with high defense. A Centaur Champion secured one of my flanks, and the winged little elf provided me with healing and interference.

Orcs moving down the middle.

McRaffy selected two pieces of blocking terrain to limit my fields of fire. I selected two long, narrow bodies of water to funnel him to a prepared position.

 When in doubt, Trolls with big guns win.

Knowing I would be facing orcs, I selected a Troll Gunner to use the Flame/Lightning special ability and shred their formations. True enough, when the orcs reached the top of the funnel, I was able to hit their formation for considerable damage. Pushing the figure in the next round and rolling a fumble was bad luck, but I had started whittling him down.


The top of the funnel

The killing ground.

The orcs spent two rounds in the killing ground of the funnel before breaking out. After repeated shots, the units that were left were not in any shape to deal with a relatively intact Death Star.

The Ankhar Butcher charges in.

The Centaur Champion clears my right flank.

Endgame. 

In the end, only 3 figures essentially reached melee range with my Trolls. With a Defend "daisy chain", they were not able to damage them and were soon dispatched. Apparently shooting fence posts as crossbow bolts is not fun for the targets.

Roll of the dice

In the end, it was poor figure selection that did Colonel McRaffy in. More figures, figures with Force March to move them quickly across the killing ground and a killer figure with high attack and damage output (or autodamage figures with Poison or Ram) would have been more effective. Still, a good time was had by the both of us, and by the time we called it a night, midnight had already come and gone. 

MageKnight is a fun, quick and deceptively simple game with good strategic depth. If you haven't played it, lots of figures appear on EBay and other sites regularly and with reasonable prices. Perhaps next time I will convince the good Colonel to try his hand at MageKnight Dungeons. With close to 700 figures available, I don't think that either of us will be bored any time soon.

Σάββατο 29 Μαρτίου 2014

Irene, Irene, Irene. The word is "Irene".

Ah, life can be interesting. Of course interesting is rarely pleasant, but it beats plodding along day in and day out. After closing my practice, going through a divorce, getting ready to move abroad, I finally got the urge to paint little plastic (or metal; I am not particular), sniff styrene glue and write on this blog. It's been a year, but what a year. I hope this is as bad as it gets.

So, Irene is NOT the name of my ex-wife. If you have seen "Black Hawk Down" (and if you haven't seen it, go read another blog, one that does not have pictures of toy soldiers in it), "Irene" was the "go" codeword for the combined Ranger/Delta operation in Mogadishu that resulted in a monumental screw-up, a cool movie and an even cooler book.

Having gotten a bunch of Cold War Americans (Esci and Revell) and some Somalis (Caesar and Elhiem metals), I decided to paint me some Rangers. I started off with one chalk: two fireteams, an M-60 team and a chalk leader. Each fireteam is composed of one grenadier (M-16/M-203 combo), one SAW (M-249), fireteam leader and rifleman. The M-60 team is gunner and assistant gunner. All in all, 11 figures. I started them off sometime in 2013 and finished them off yesterday:

Fireteam 1:


M-60 Team:

Fireteam 2:

 Chalk Leader:

I had some problems with the flat coat (frosting in a couple of figs) but I am too lazy to repaint the area. The Mog was dusty anyways. I primed the Elhiem Delta teams as well, but it might be a couple of weeks before I get around to painting them. I've found most of the stuff I need for Mogadishu (Humvees, Blackhawks, Somalis, Rangers, Delta, Blackhawks, Blackhawk crews) except Little Birds. There are kits for it out there, but I haven't seen one in Athens yet.

That's all from Athens for now. Tune in for another update soon (I hope).

Τρίτη 2 Απριλίου 2013

Bridge Across the River Die

It's been nine months since I last wrote here. Wow! You can have a kid in this amount of time. Well, real life conspired to keep me away (moving to a new home, camera knocked out of action during move, my personal computer shortly after). Still, I've kept up with painting plastic crack and here is a celebratory come-back with nothing less than a battle report. My opponent was none else than Thanos, the extremely talented modeler of the Miniatures and Terrain blog.

Although my primary areas of interest are fantasy and WWII wargaming, I recently dabbled in Napoleonic wargaming. Ah, yes, the time when real men got their hair curled and wearing pink, green and riding boots was a fashion statement. And lace. Let's not forget the tons of lace and pipping you'll have to paint. So I picked a rule system that is light on rules and even lighter on figures, Song of Drums and Shakos from Italian Ganesha Game. SDS uses the Song of Blades and Heroes engine which is rules-light and forces you to make some interesting tactical decisions on allocating actions to your miniatures. Being a skirmish game, it uses a small number of figures, typically no more than 20 per side. It took me about two months (including the normal break times for work, the Mistress complaining and the Young Master falling ill) to complete all the figures and terrain for this particular game. I'm pretty sure that someone could do it in half the time though. Although the figures used were 1/72, I used the scales for 15mm figures, mainly because my current gaming table is 60cm wide (normal playing area for 1/72-28mm figs is 90cmX90cm).

The scenario details are as follows. A group of French line infantry (together with their officer and two members of the Old Guard) have been stationed in an old farmhouse, next to a bridge. Their orders are simple: hold the bridge against British probes. A small force of British troops (five Riflemen and their officer together with some center company infantry with their officer and NCO) have been ordered to force a crossing, essentially conducting a reconnaissance in force. The south side of the map is covered in woods, except for the road leading to the bridge and the north side is essentially open, other than the farmhouse and its low wall. Thanos decided to use the British and that left me to defend the honor of the Emperor and France.


Turn I found the redcoats split into three groups. The center company infantry was positioned on the road leading to the bridge, three riflemen and their officer on the right flank and two more riflemen on the left flank. All groups advanced cautiously, with the center company NCO being a little more zealous and running to the top of the bridge. The French had one of their line infantry together with the grenadiers hold the north end of the bridge while the rest of the fusileers holding the south wall of the farm. The officer was behind the line of fire able to command both groups. The flag-bearer was close by acting as a rally point should things go sour. The French line infantry on the south wall fired on the Rifles skirmish line, forcing one of them back, deeper in the cover of the copse. They reload. One of the  Old Guard fires on the foolhardy NCO, forcing him to drop for cover and reloads.

In Turn II the British start using the longer reach of their rifles. The British riflemen on the left fire, missing one of the grenadiers. More determined rifle fire on the British right forces two of the French infantry to drop for cover behind the stone wall. The British CO however rolls snakeyes leading to a changeover. The French have had enough of this pesky rifle fire. The Grenadier that got shot returns fire, killing one of the riflemen on the left and then  reloads. One of the line infantry moves from the south wall to the bridge, but the French officer also rolls double "1"s leading to a turnover.


On the beginning of Turn III, the British right flank advances, leaving the tree line. The center squad of redcoats advances and crosses the bridge at a run. The NCO manages to stand up. The rifleman on the left flank fires and misses. The French decide to fight the British hand to hand. One of the redcoats is killed and one is pushed back, with the Grenadier following on his advantage.


The British CO correctly deduces that this is the turn that will make or break the battle. He advances and fights hand to hand against the French. End result, he and one of the infantrymen are wounded, forcing a morale roll for the NCO and remaining redcoat on the bridge. They both fail and decide to run like crazy (wise decision). On the French left, the infantry stands up behind the stone wall and fires at the Rifles officer. After three shots, the officer falls wounded and the troops decide to fall back running, except for a brave fellow who stands his ground.


End result: 4 British dead  and wounded (including both officers), not even a scratch for the French. This was a pretty solid win for the French. In the post-game discussion with Thanos, we determined that he would have been better off moving his entire skirmish line of riflemen on his left flank and used it to fire from a defiladed position to the French holding the north end of the bridge. That, or some cavalry, which is next on the painting block.

That's all for now from sunny Athens.